If you're looking to reduce your energy bill and act on climate change try on of our Sustainability toolkits.
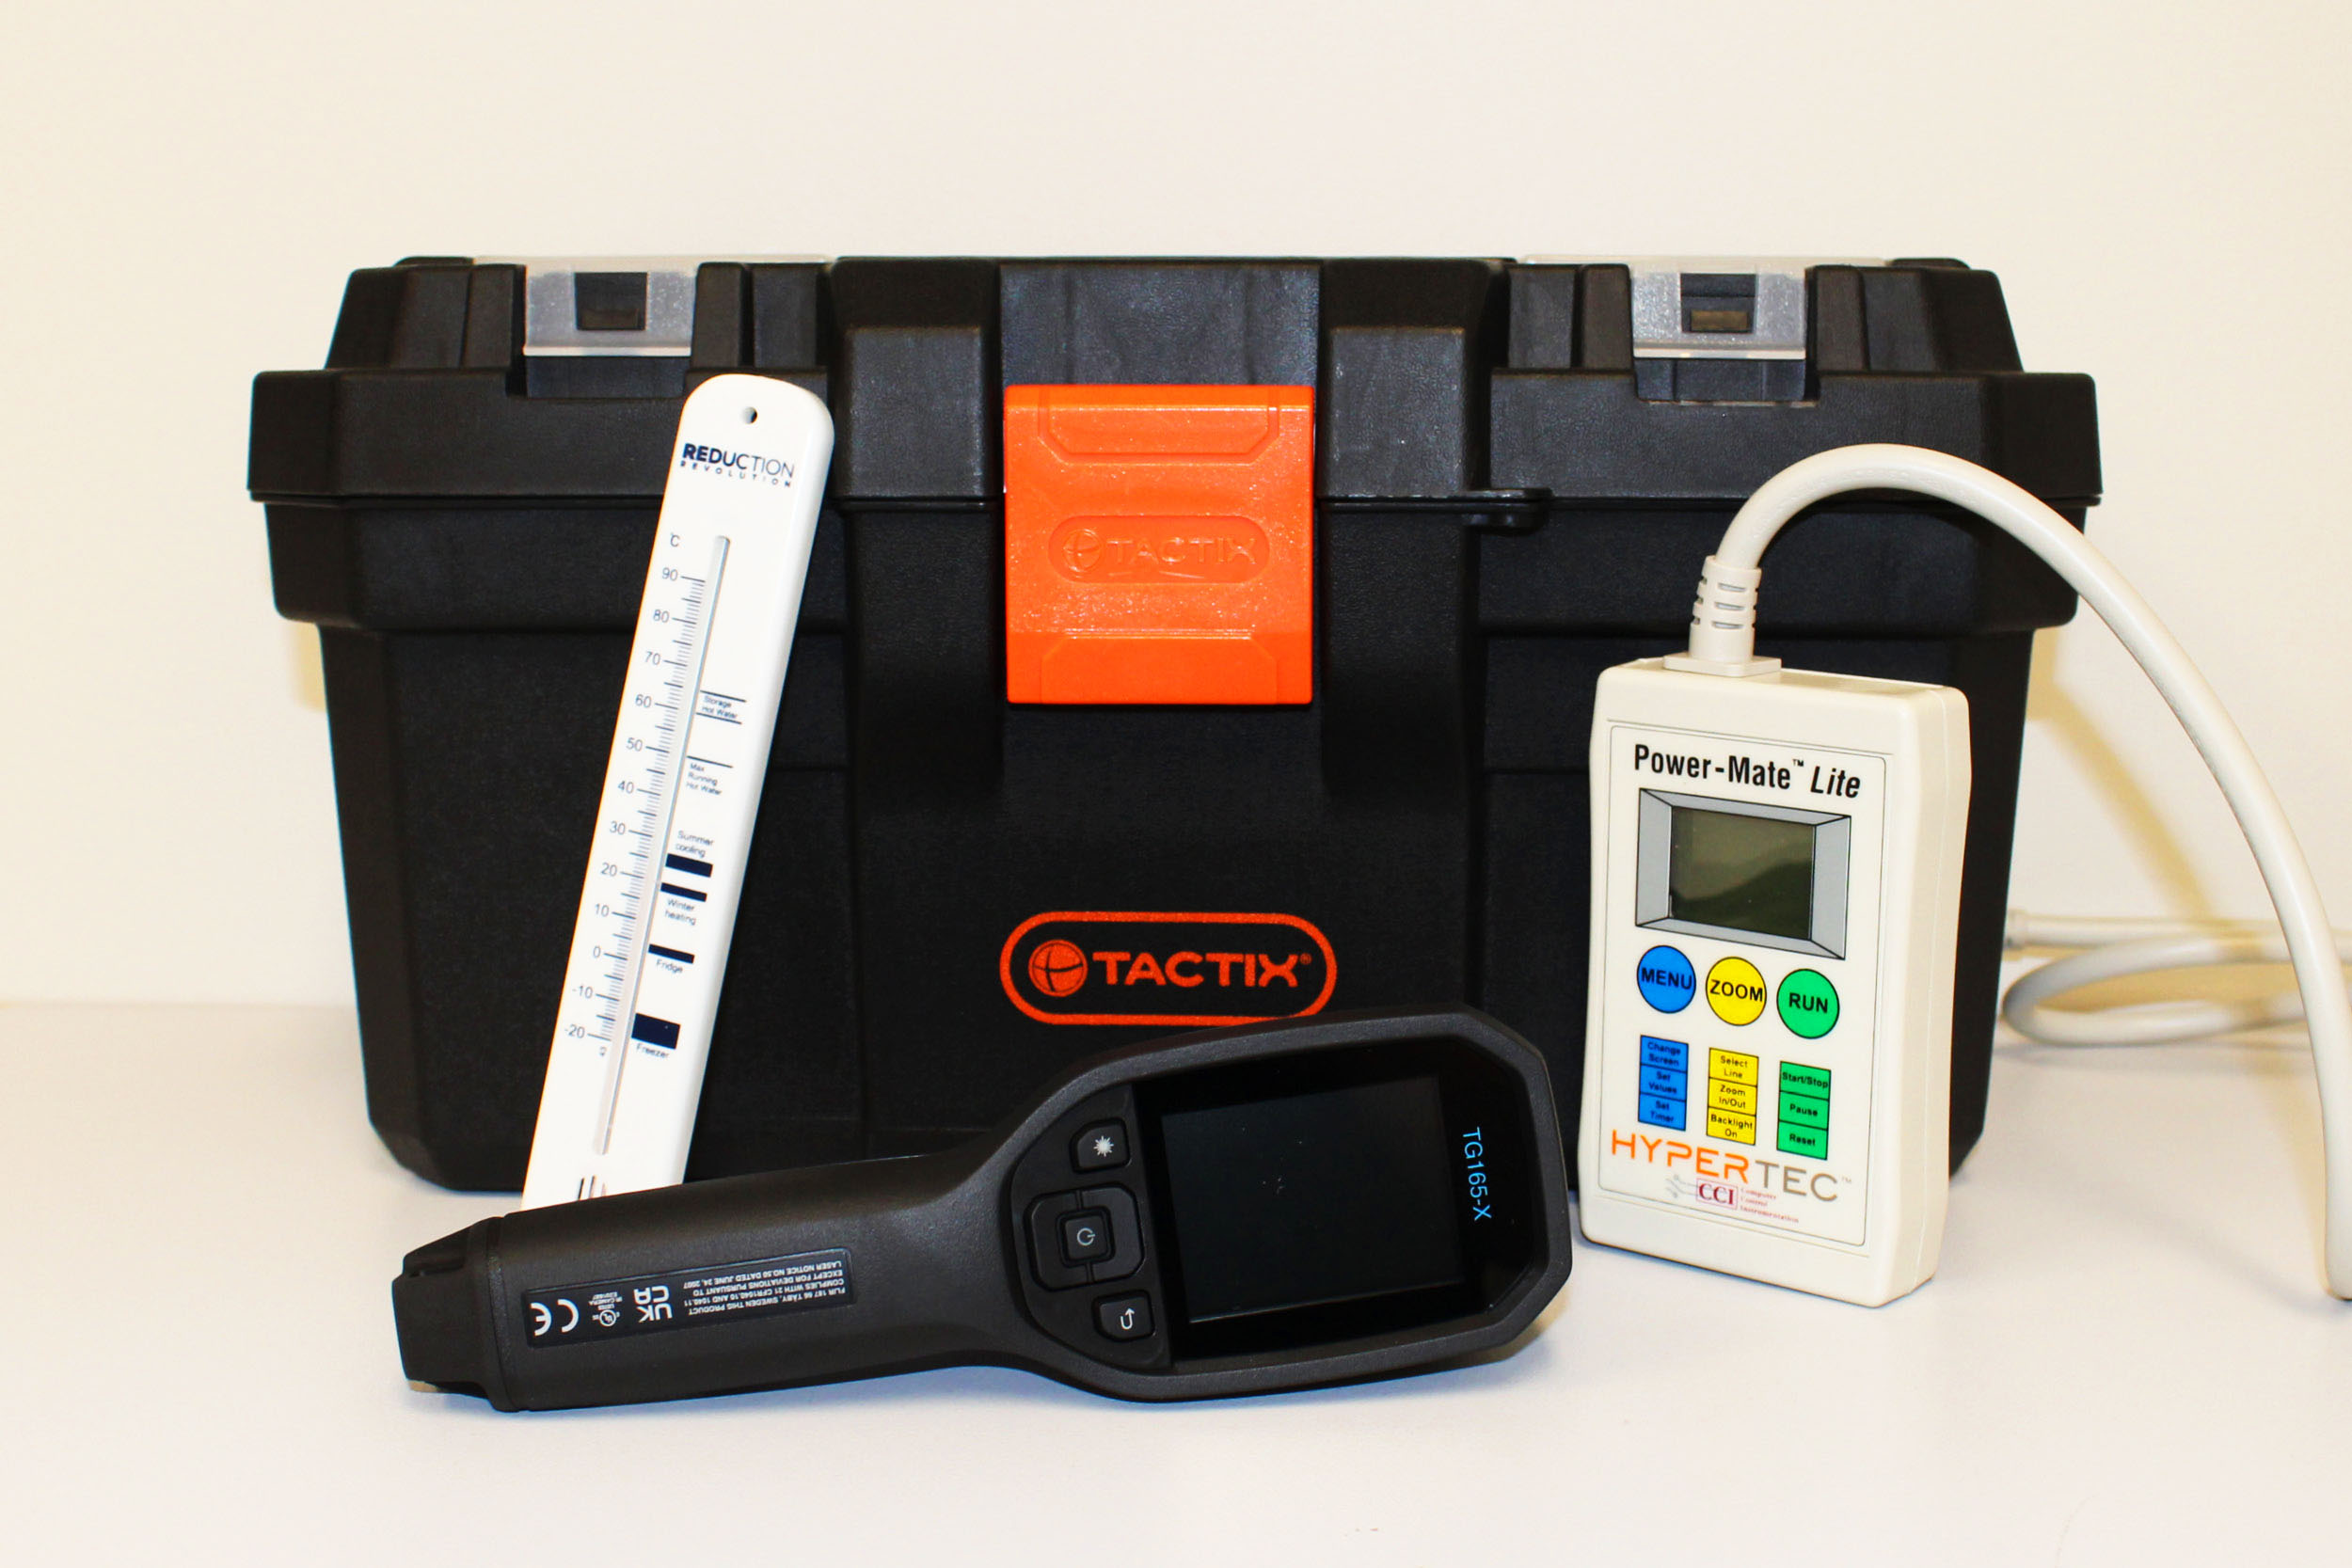
What's in the kit?
The toolkit will:
- Help determine the efficiency of your home appliances,
- Identify air leaks and other insulation gaps,
- Arm you with the information you need to make changes in your home.
Find air leaks and insulation gaps with the thermal imaging camera. This will show you where you can seal gaps around windows and doors, install double-glazed windows or insulate your walls, floor or ceiling. It can also show the thermal performance of electric, gas and wood-fired heaters. Making changes like these will help reduce your heating and cooling energy needs.
Quick start guide
- Read the Safety Warnings and Cautions on page 3 of the User Manual before use.
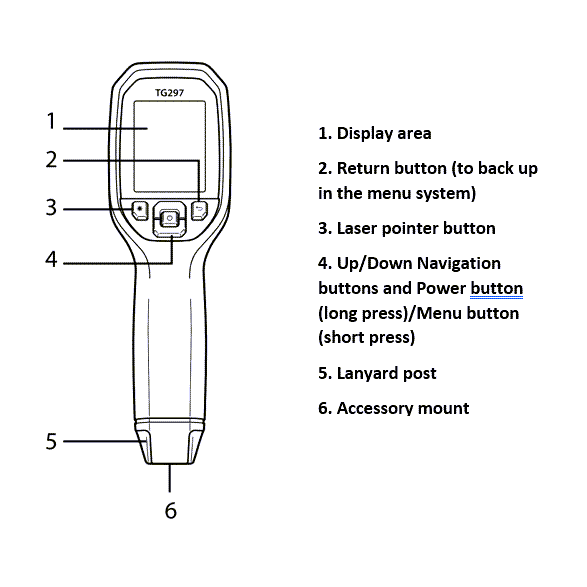
- Long press the power button to switch the camera ON.
- If not already selected, choose the Thermal Plus Visible Image mode in the menu system (under Image Adjustments/Image Mode). You can also adjust the alignment directly in the normal operating mode using the arrow buttons while viewing a Thermal Plus Visible image.
- Point the camera toward the test area and scan as desired. View the camera image on the display.
- Use the laser pointer to accurately target a spot. Press the laser pointer button to switch ON the laser pointer. The camera’s laser pointer includes a circular spot indicating the area that is being monitored for temperature. If the laser beam does not appear when the button is pressed, check the menu system (under Device Settings) to ensure that the laser is enabled.
- The temperature reading on the display represents the measurement of the targeted spot.
- The minimum target distance is 26 cm (10.2 inches).
- Do not measure more than 300℃ (572℉) as it can damage the sensor.
See how much energy your appliances are drawing when in use or on standby. Did you know that some microwaves may use more energy over time running the digital clock 24 hours a day than to cook food? Use this power meter to make choices like buying more energy-efficient appliances or unplugging them when not in use.
Power-mate Lite safety
- Use indoors only.
- Never use in wet areas or when the device is wet.
- Do not leave in the sun.
- If, when using the Power-Mate, the screen says “Warning Overload” turn off the device at the power point and unplug it.
- Do not plug multiple devices into the Power-Mate at once.
Quick start guide
- Plug the Power‐Mate into a power point and the appliance into the Power‐Mate’s socket.
- Press MENU button until you see the “Meter” heading on the screen.
- Use the ZOOM button to scroll through the various meter readings and HOLD the ZOOM button to enlarge the meter measurement such as Power, Volts, Amps or PF (power factor).
- The “Power” measurement in watts is the most relevant and shows you the rate at which electricity is being used. The higher the watts, the more electricity the appliance is using at that time.
Check you are not wasting energy by measuring the temperature in your fridge and freezer. Adjust temperatures so they are inside the optimal range of 3-4℃ for fridges and -18℃ for freezers.